Settings
The Settings area is where you configure your account, projects, team, and AI behavior. Proper configuration ensures Hikari CS operates exactly the way your business needs it to.
Account Overview

Your Account Overview is the starting point for managing your Hikari CS environment. It shows:
- Subscription plan (e.g., AI Pro)
- Setup health — A percentage indicating how complete your configuration is
- Resource counts — Customers, Projects, Inboxes, and Team members
- Needs attention — Items that require configuration
- Setup checklist — Step-by-step guidance for getting fully configured
- Quick actions — Shortcuts to common management tasks
Account Settings
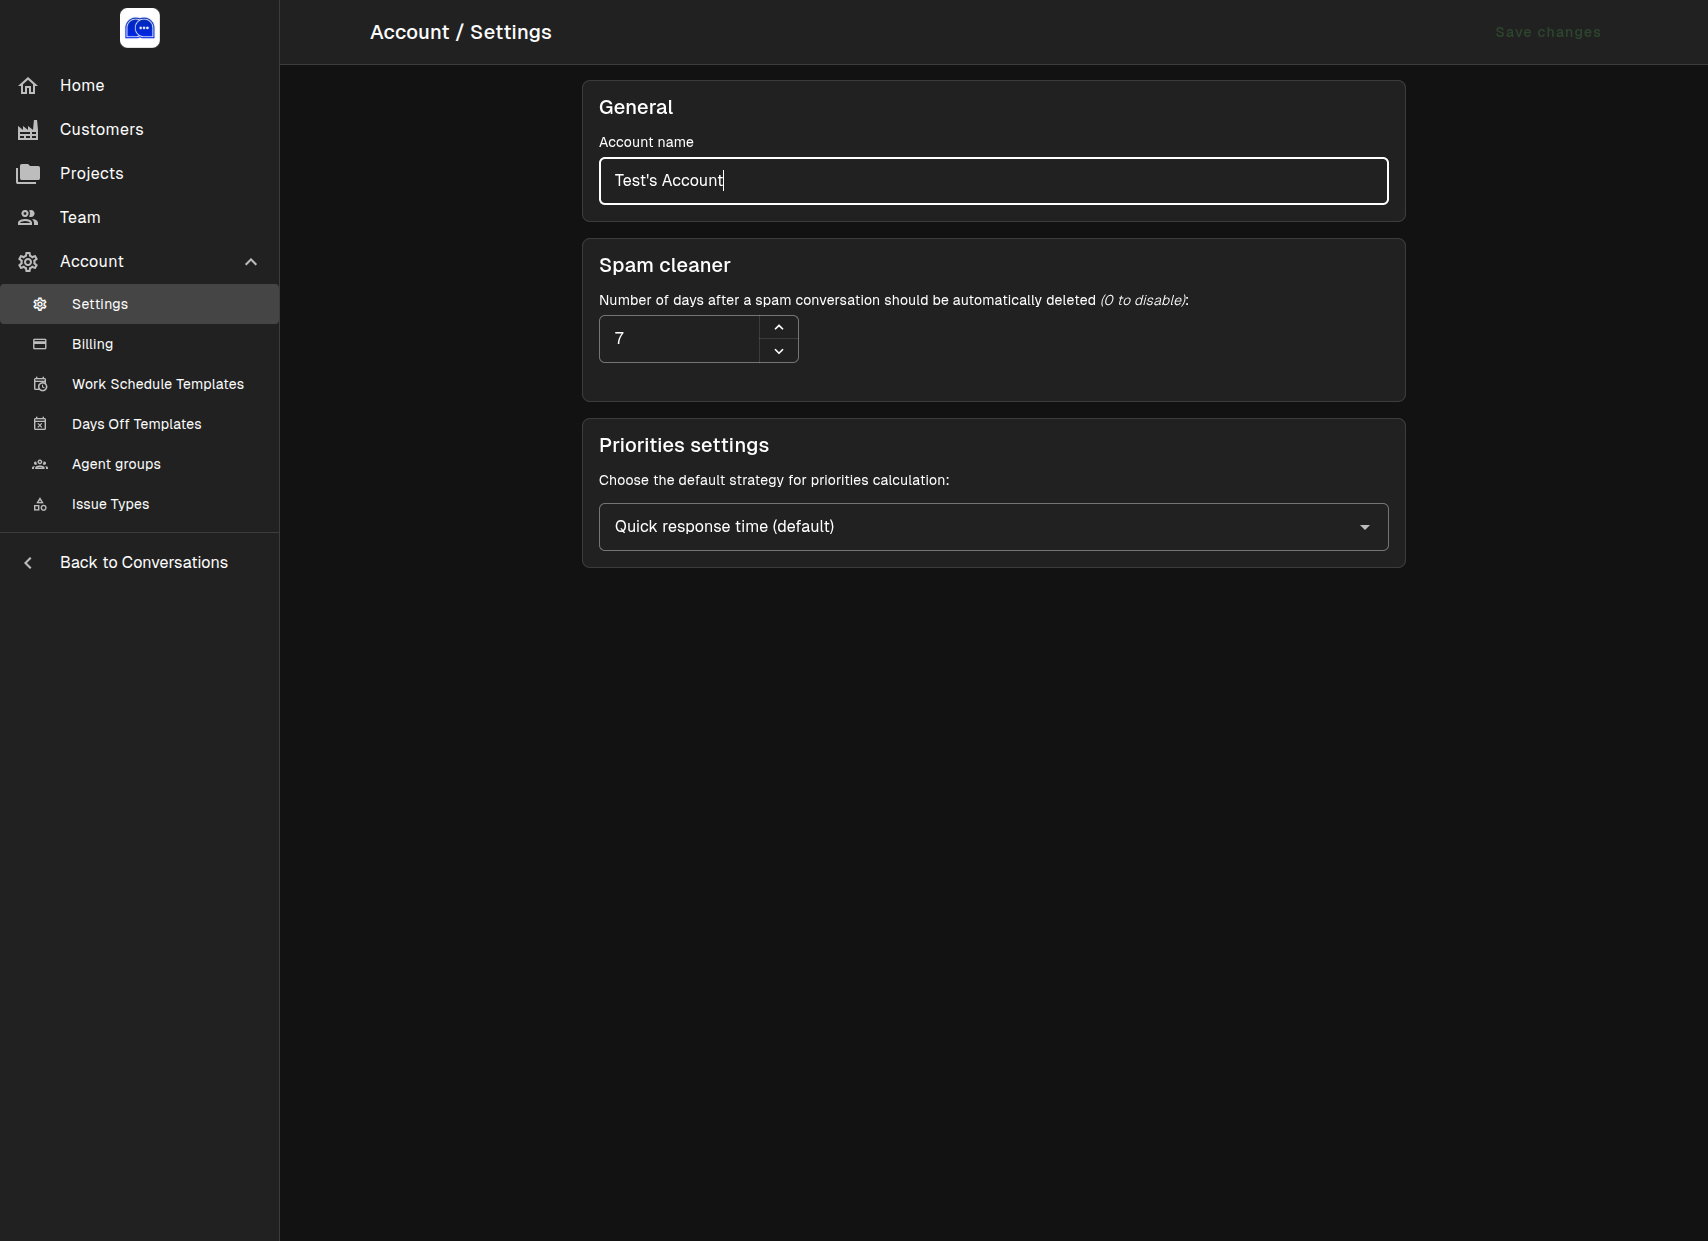
Navigate to Account → Settings to manage global account preferences:
General
- Account name — The display name for your organization
- Spam cleaner — Automatically delete spam conversations after a set number of days (set to
0to disable) - Priorities settings — Choose the default strategy for calculating conversation priority:
- Quick response time (default) — Prioritizes conversations based on expected response time
Billing
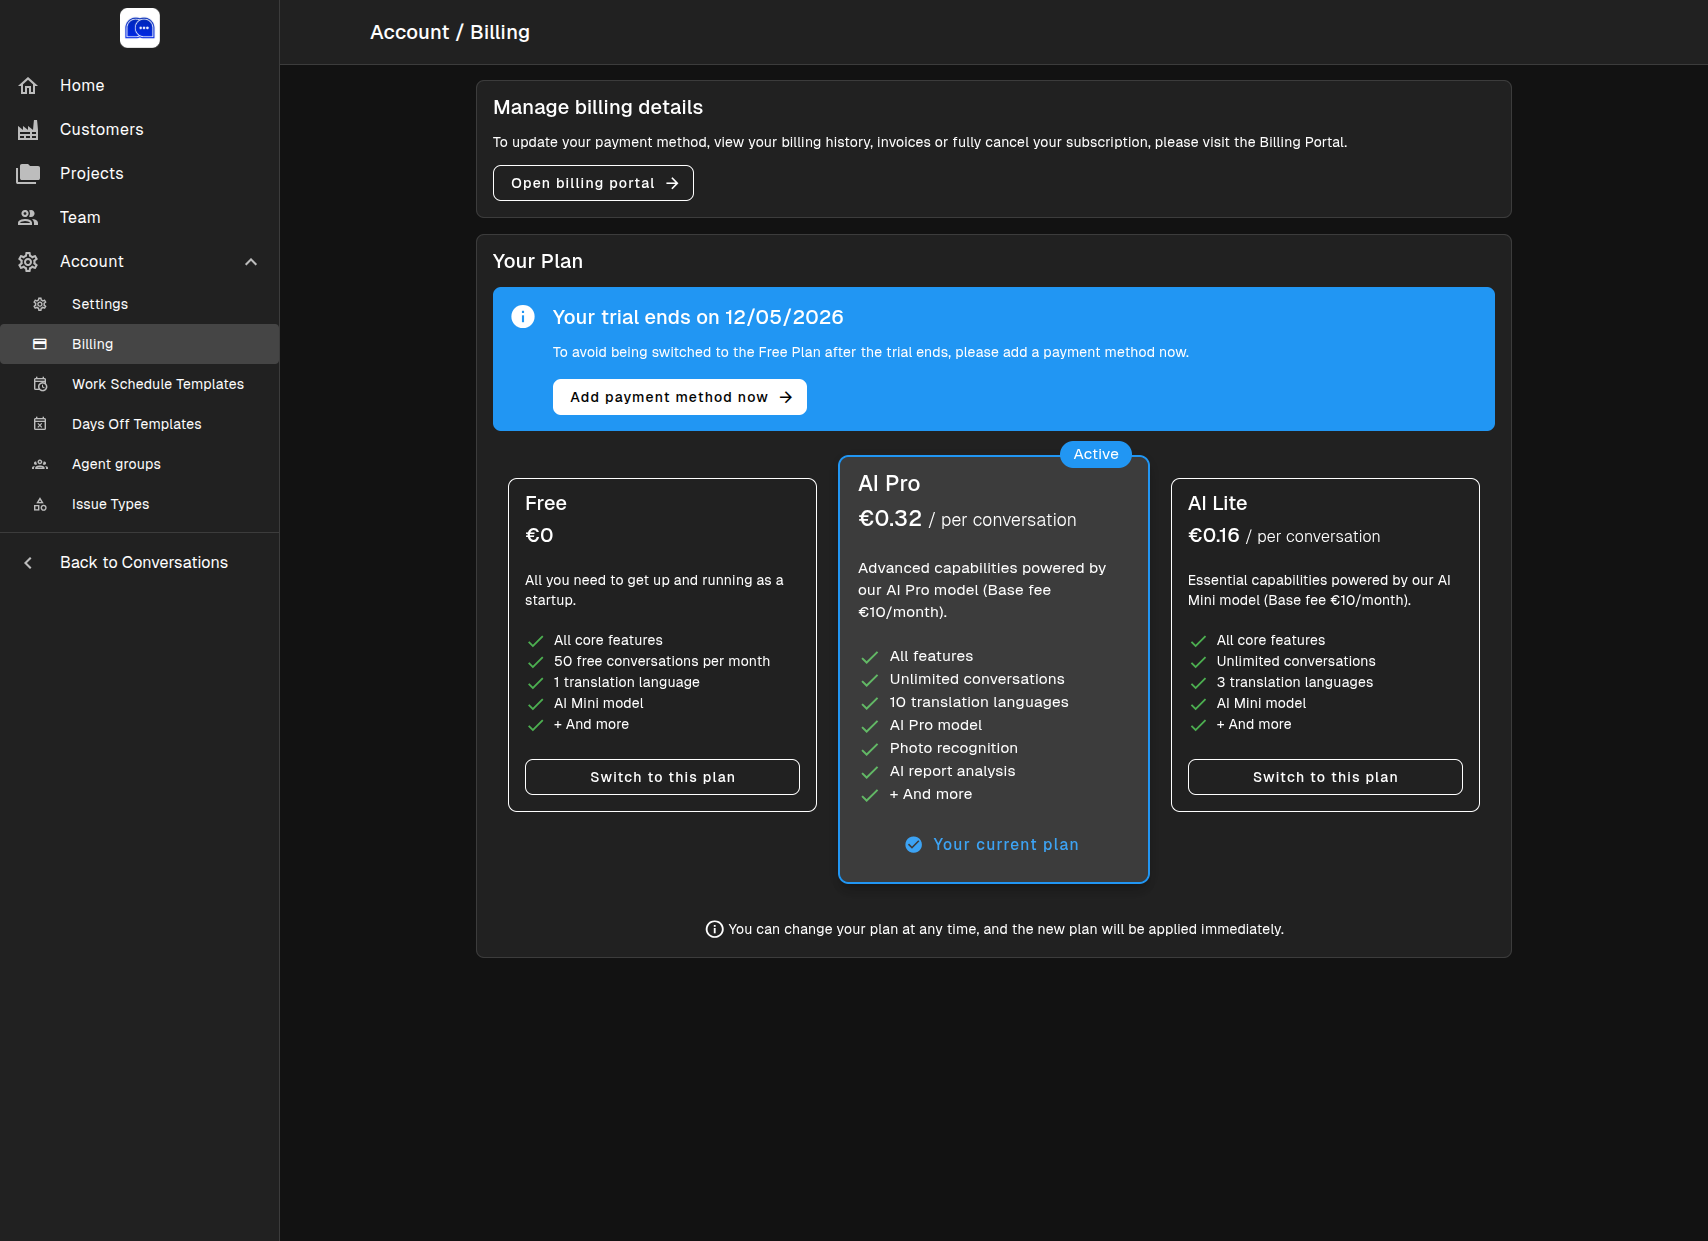
Manage your subscription and payment details under Account → Billing:
Current Plan
Your account is on the AI Pro plan, which includes:
- All features unlocked
- Unlimited conversations
- 10 translation languages
- AI Pro model
- Photo recognition
- AI report analysis
Available Plans
| Plan | Price | Conversations | Translations | AI Model |
|---|---|---|---|---|
| Free | €0/month | 50/month | 1 | AI Mini |
| AI Lite | €10/month + €0.16/conversation | Unlimited | 3 | AI Mini |
| AI Pro | €10/month + €0.32/conversation | Unlimited | 10 | AI Pro |
You can change your plan at any time. Changes take effect immediately.
Billing Portal
Click Open billing portal to:
- Update your payment method
- View billing history and invoices
- Cancel your subscription
Team Management
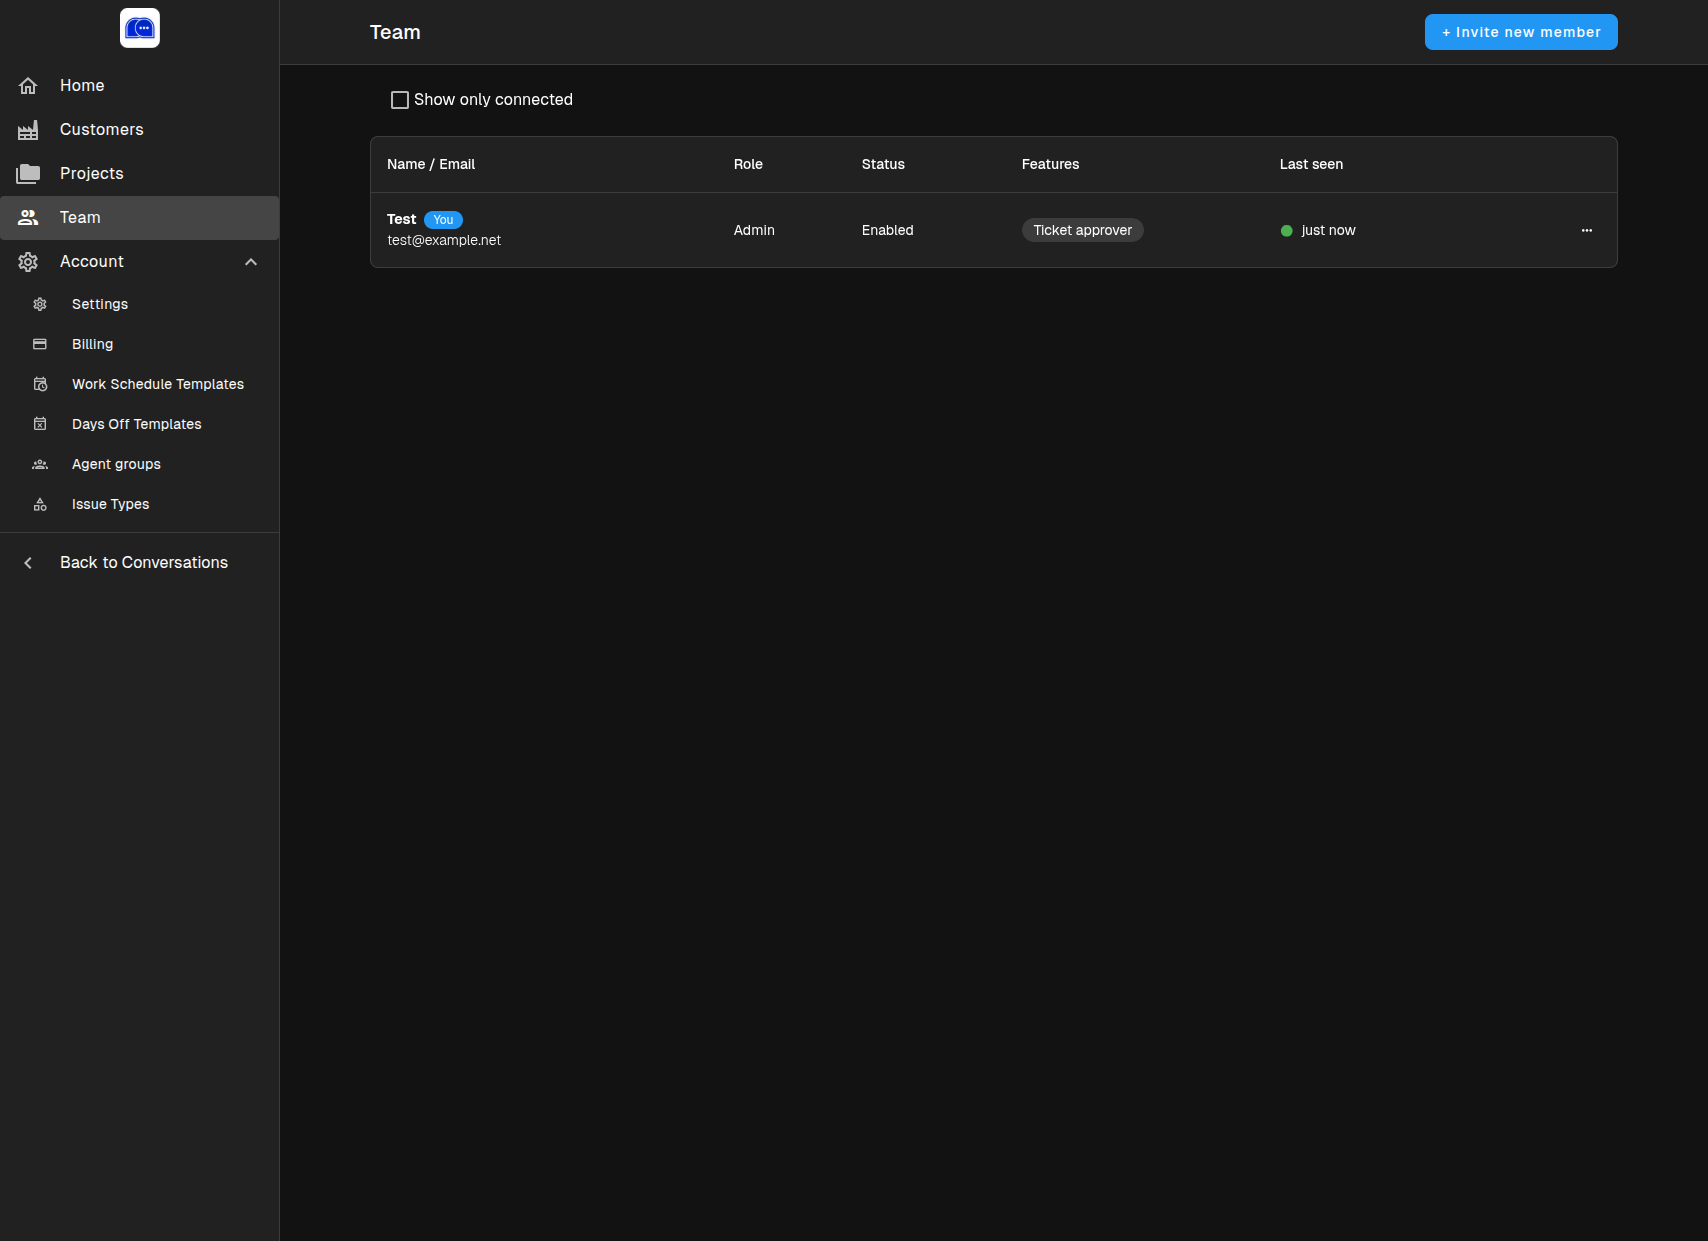
Go to Account → Team to manage your support staff:
Inviting Members
Click + Invite new member to send invitations via email. Each member can be assigned a role:
- Admin — Full access to all account settings and projects
- Moderator — Can manage conversations and approve tickets
- Support Agent — Handles assigned conversations and creates tickets
Member Details
The team table shows:
- Name and email
- Role
- Status (Enabled / Disabled)
- Features (e.g., Ticket approver)
- Last seen timestamp
Use the Show only connected filter to see who is currently online.
Customers
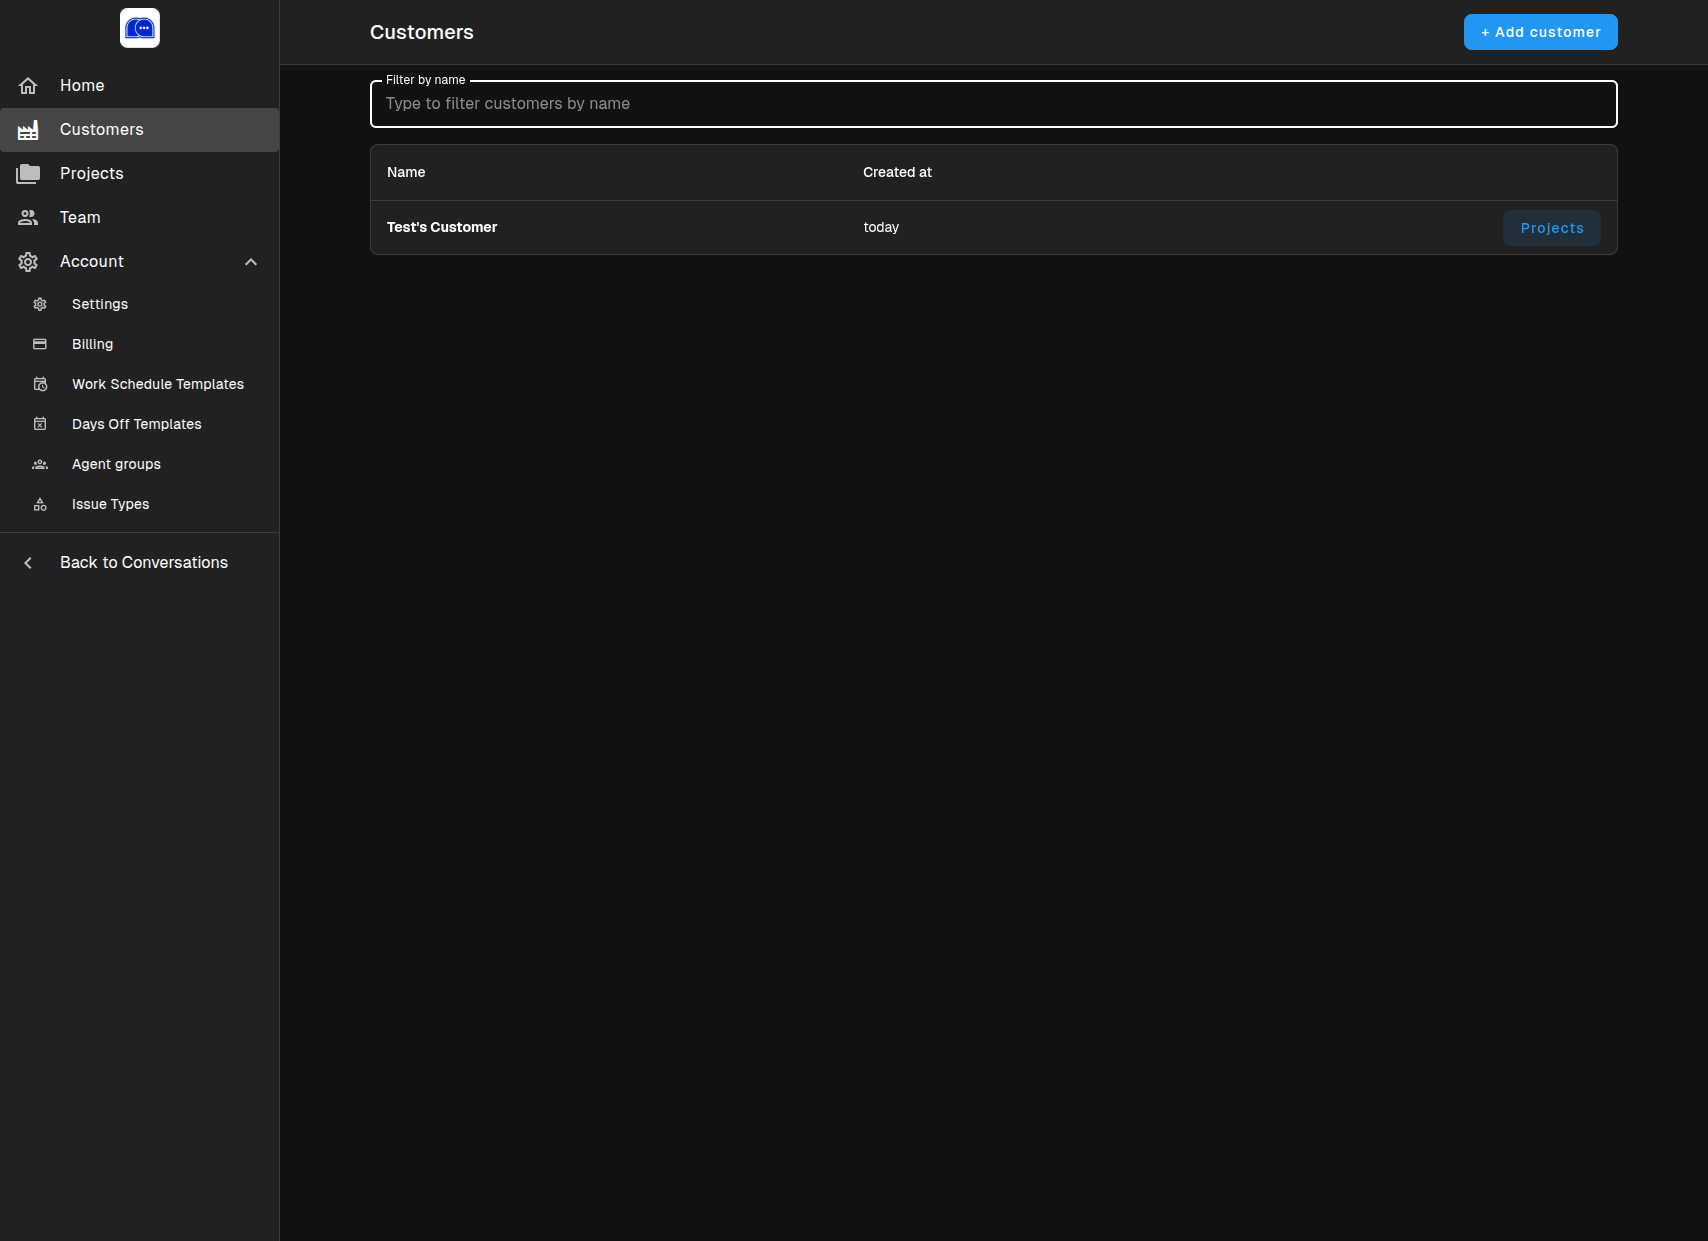
Organize your clients under Account → Customers:
- Add new customers with the + Add customer button
- Filter by name using the search box
- View creation date
- Click Projects to see which projects belong to each customer
Customers help you separate different brands or business units within your account.
Projects
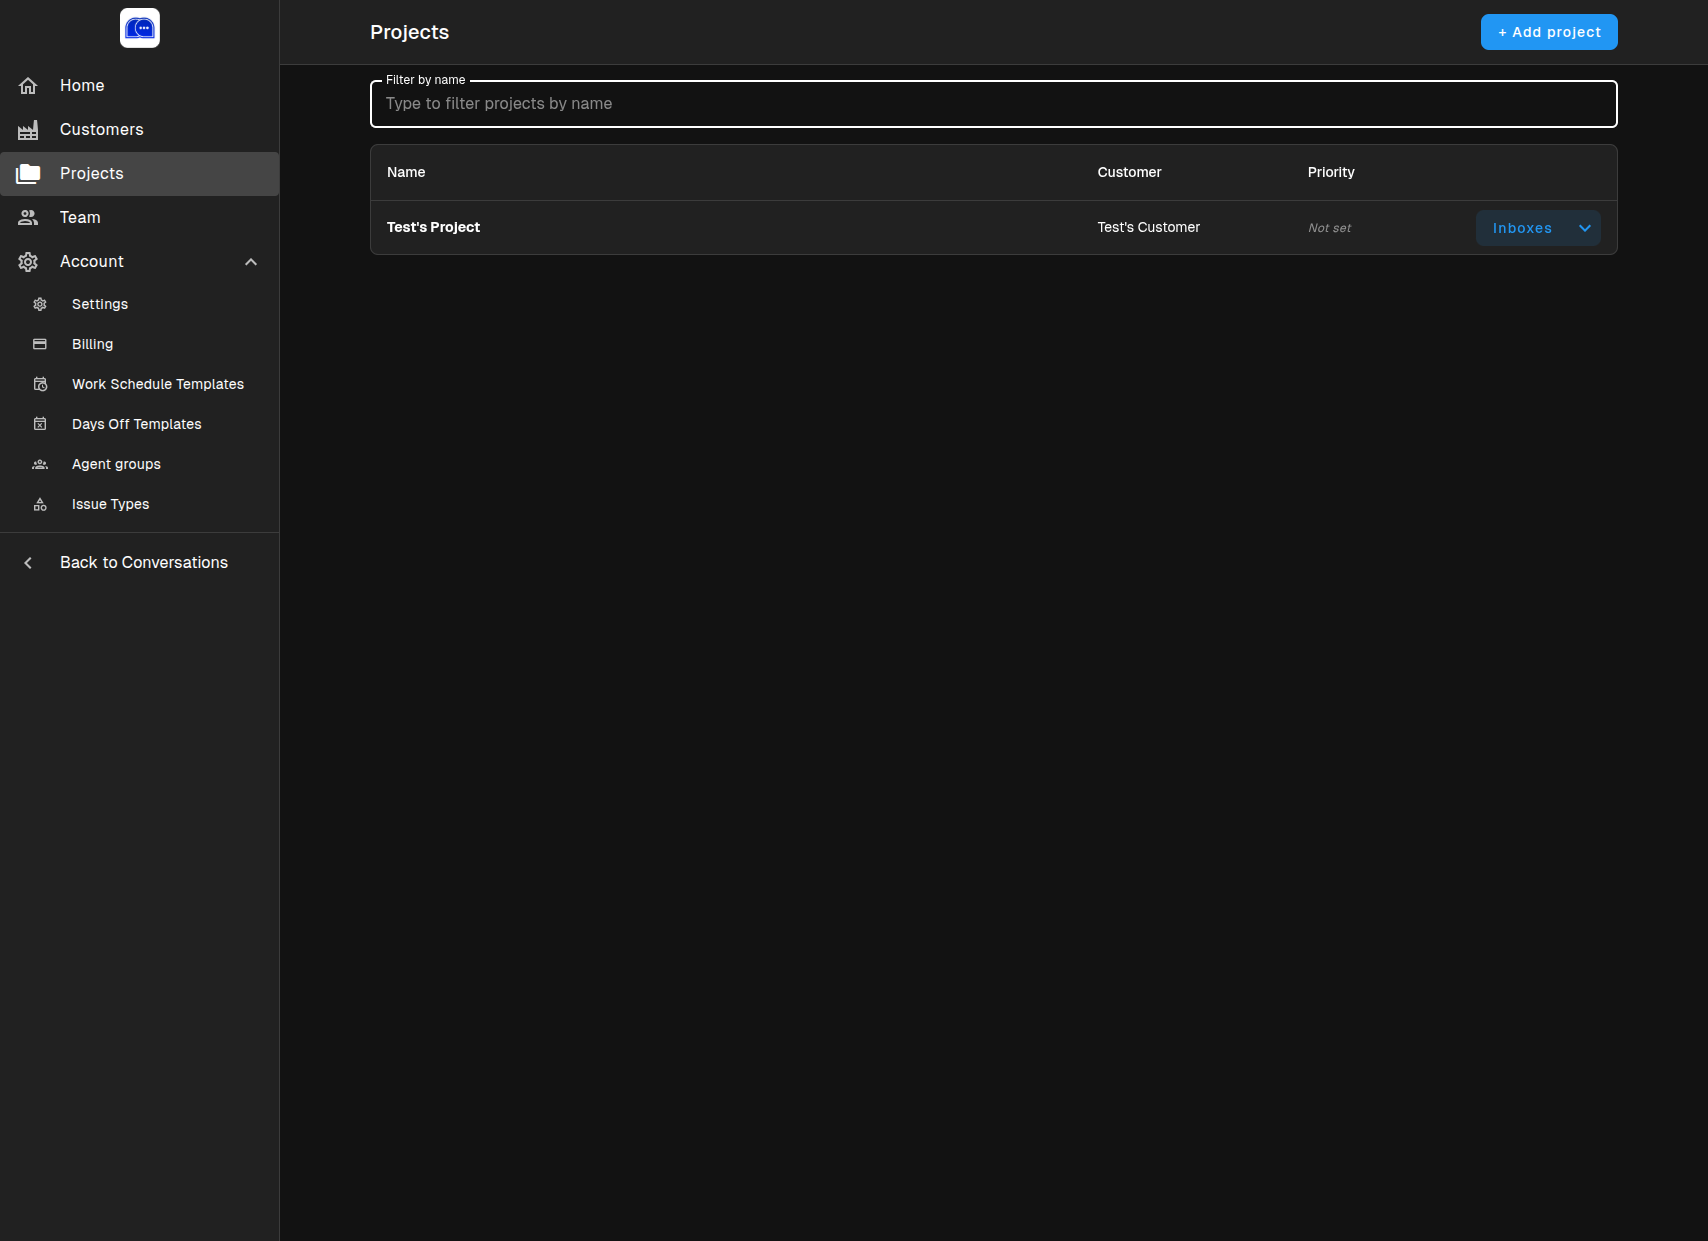
Account → Projects is where you create and manage support environments:
Each project represents a distinct brand, store, or business unit. A project contains:
- One or more Inboxes (channels)
- Campaigns for proactive outreach
- Preset replies for quick responses
- Knowledge base for AI training
- AI instructions for tone and behavior
Project Settings
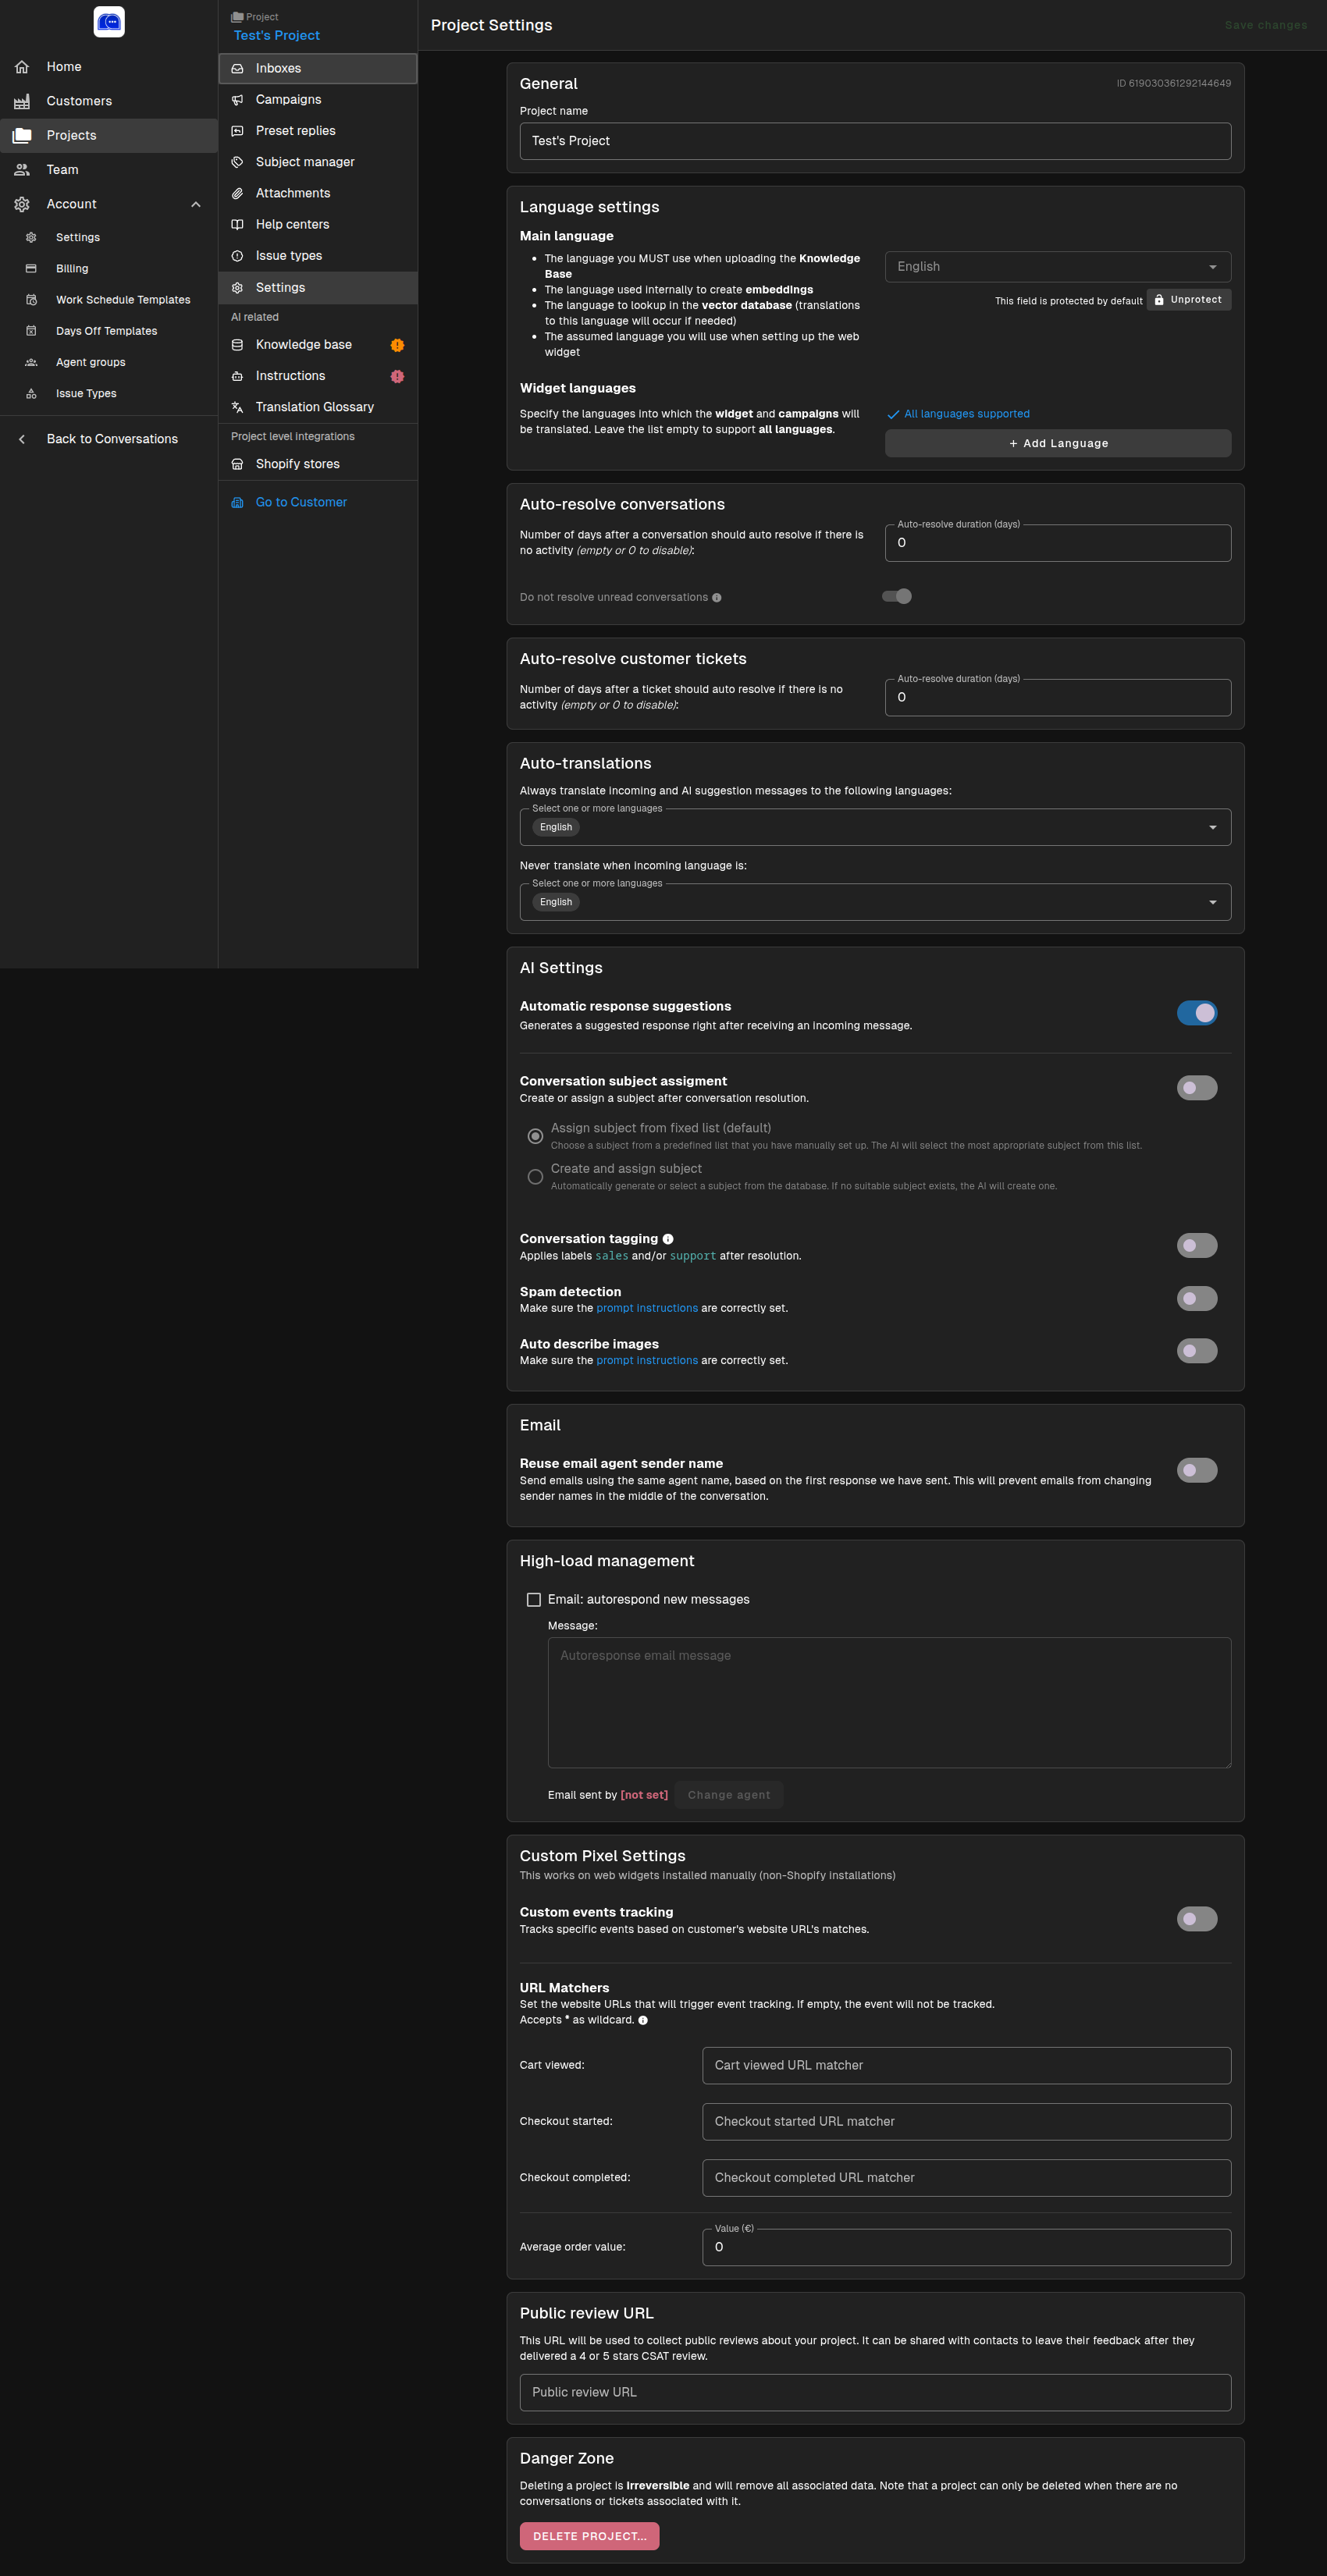
Within a project, the Settings page lets you fine-tune behavior:
General
- Project name — Display name for the project
- Main language — The primary language used for knowledge base embeddings and internal processing
- Widget languages — Languages into which the web widget and campaigns will be translated (leave empty for all languages)
- Auto-resolve conversations — Automatically close inactive conversations after a set number of days
- Auto-resolve customer tickets — Automatically close inactive tickets after a set number of days
- Auto-translations — Always translate messages to selected languages, or never translate certain languages
AI Settings
- Automatic response suggestions — Generates a suggested reply immediately after receiving an incoming message
- Conversation subject assignment — Choose how subjects are applied:
- Assign subject from fixed list — Pick from a predefined list you have created
- Create and assign subject — Let the AI generate or select subjects automatically
- Conversation tagging — Automatically apply
salesand/orsupportlabels after resolution - Spam detection — Automatically flag spam based on your prompt instructions
- Auto describe images — Use AI to describe images sent by customers
- Reuse email agent sender name — Keep the same sender name throughout an email thread for consistency
High-Load Management
- Email autorespond new messages — Send an automatic acknowledgment when new emails arrive during busy periods
- Configure the autoresponse message and sending agent
Custom Pixel Settings
For manually installed web widgets (non-Shopify), track customer behavior:
- Cart viewed
- Checkout started
- Checkout completed
- Average order value
Set URL matchers using wildcards (*) to trigger events based on page URLs.
Public Review URL
Add a link to your public review page. This URL is shared with customers after they leave a high CSAT rating (4 or 5 stars).
Danger Zone
Deleting a project is irreversible and removes all associated data. A project can only be deleted when it has no conversations or tickets.
Inboxes
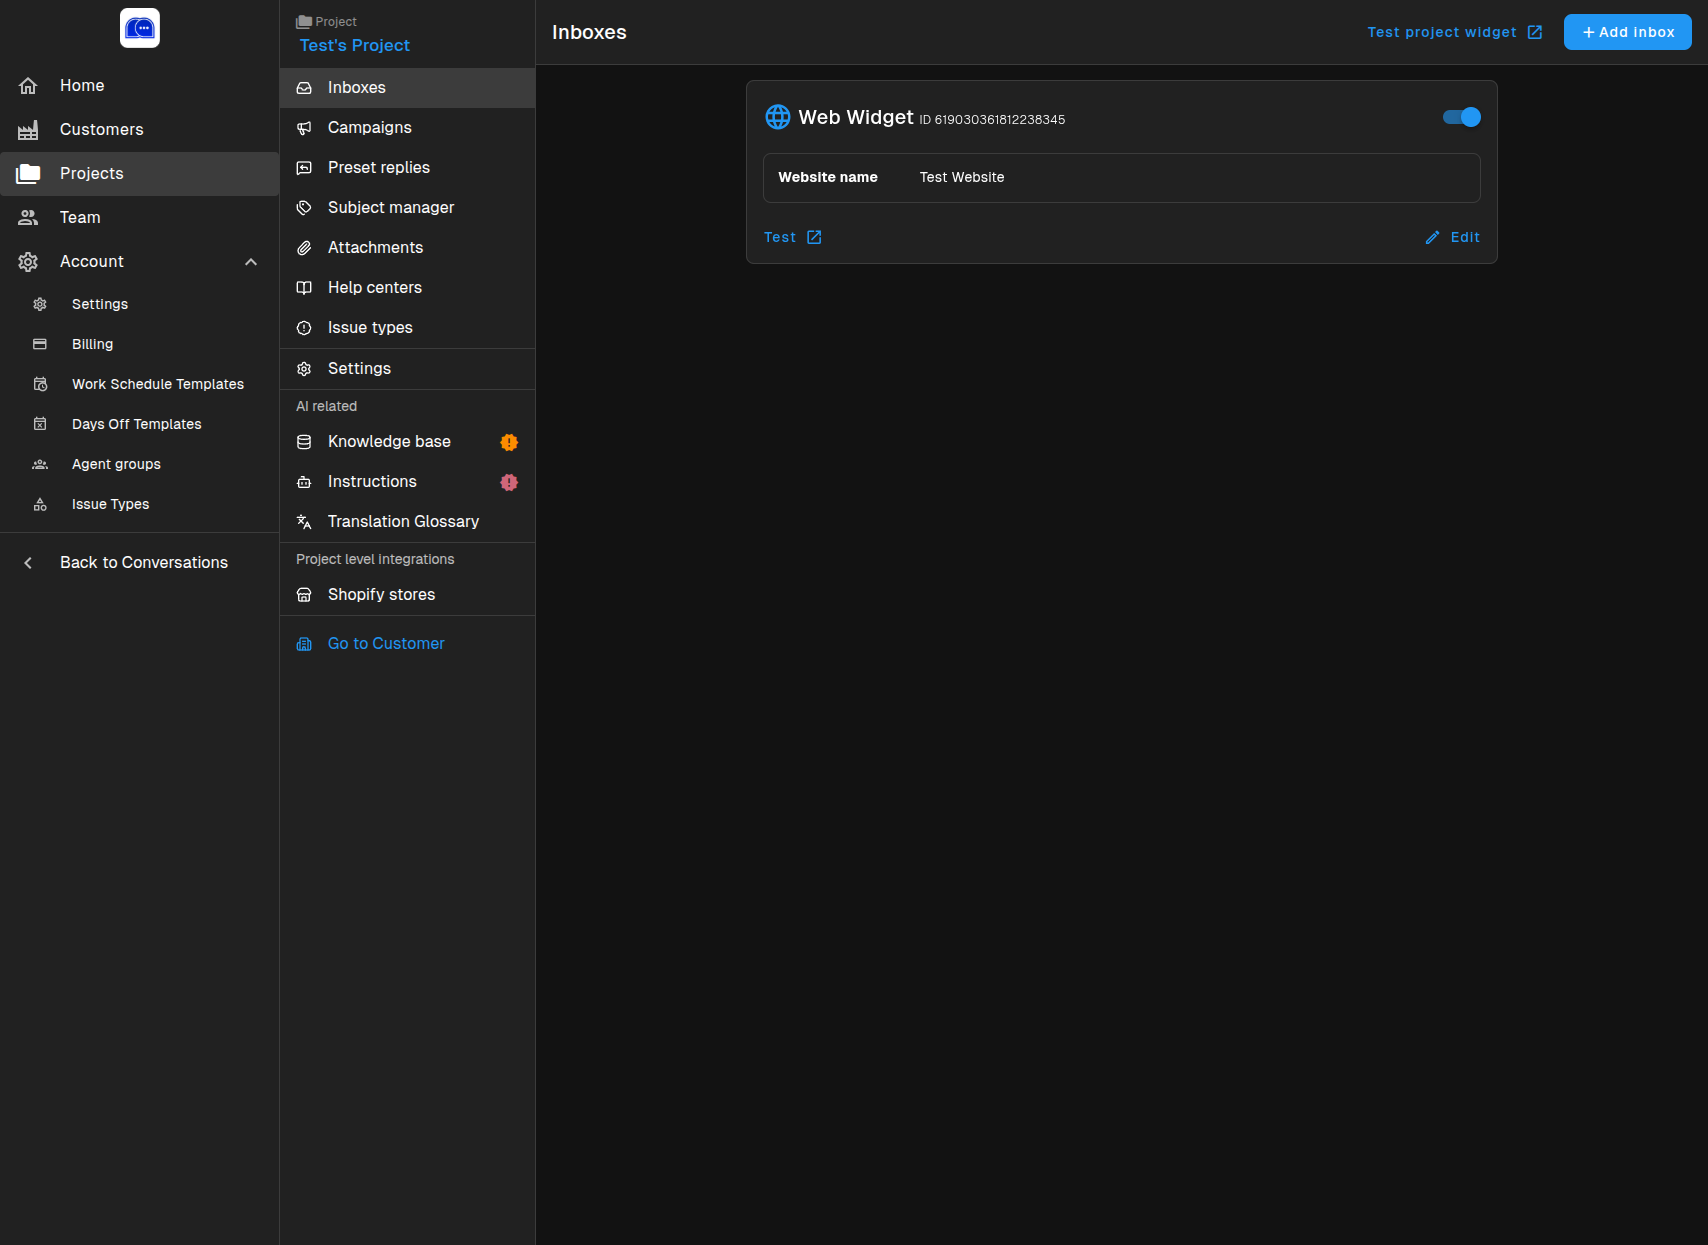
Project → Inboxes is where you connect communication channels:
Web Widget
A chat widget embedded on your website. Each widget has:
- A unique ID
- A website name
- A test link for previewing
- An Edit link for customization
Click Add inbox to connect additional channels such as email or social messaging.
Preset Replies
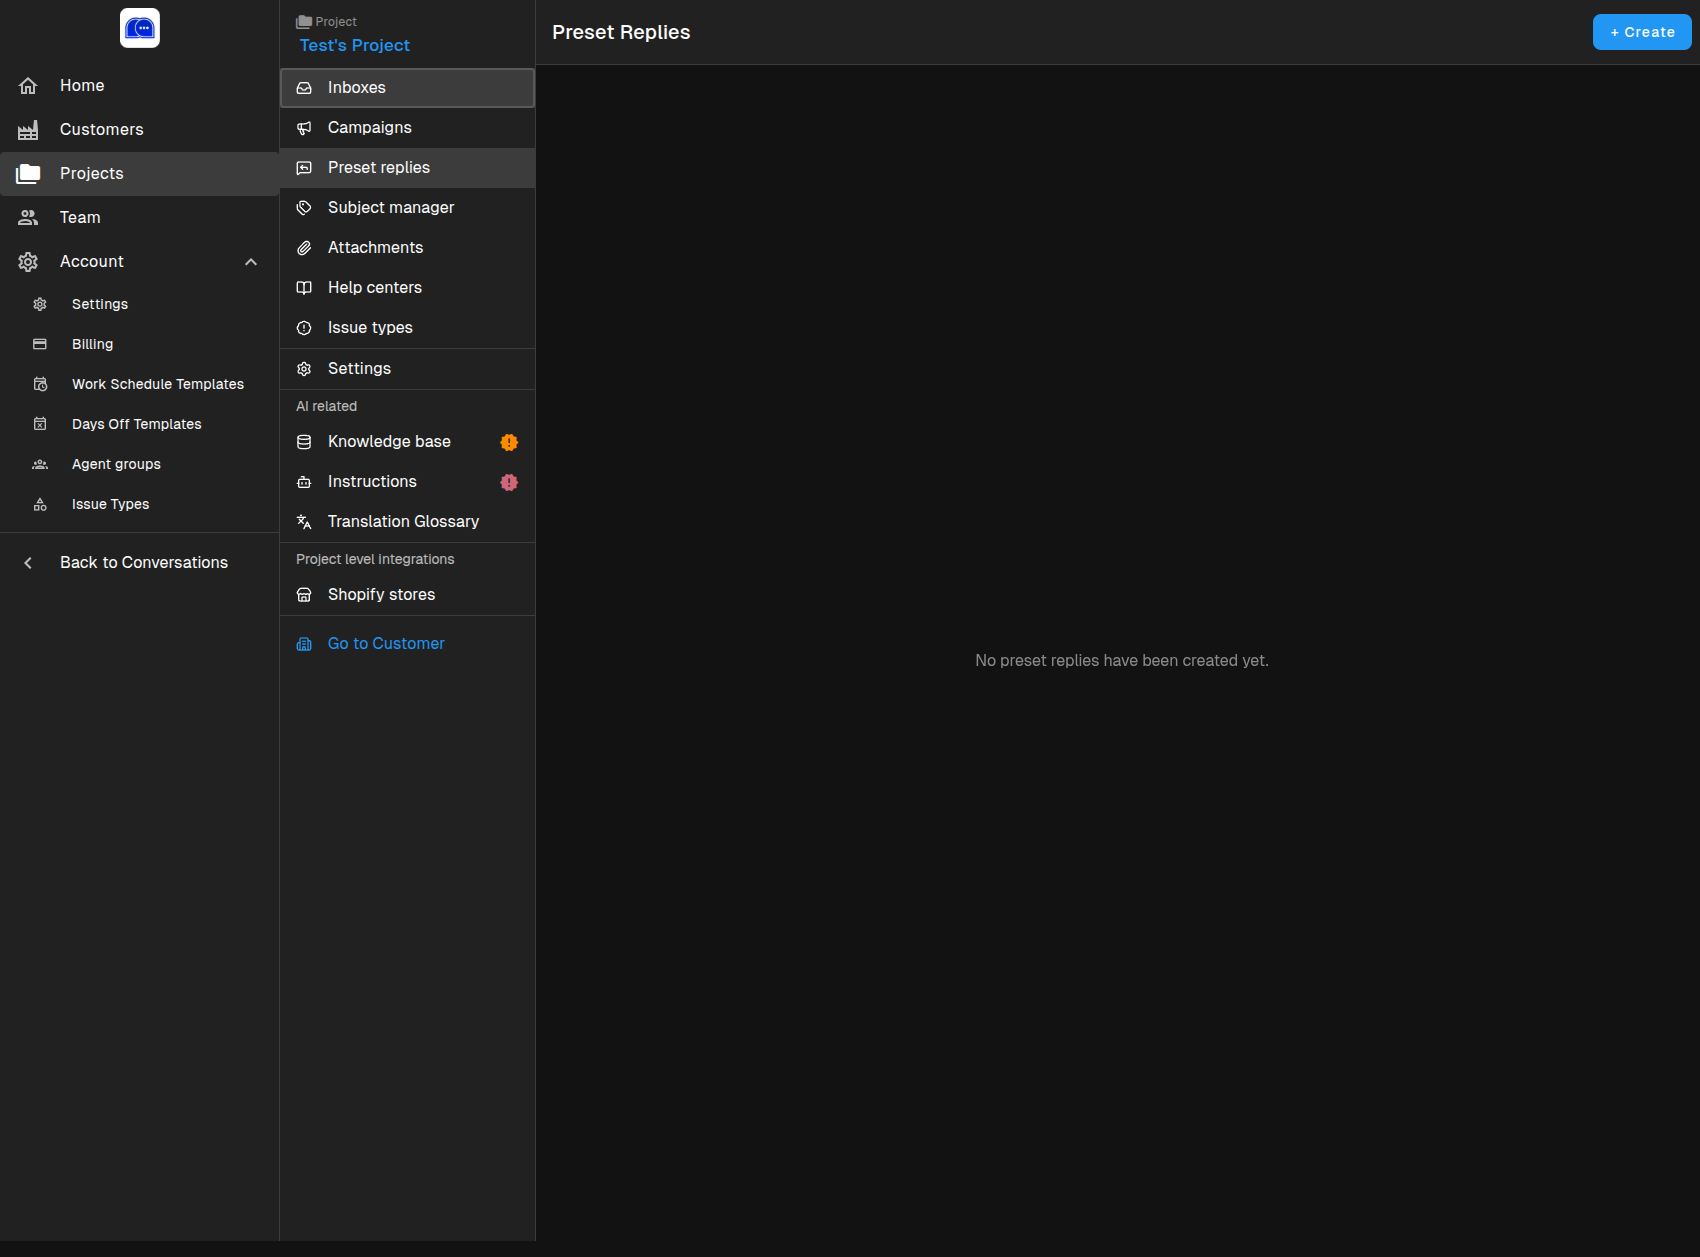
Project → Preset replies lets you create reusable response templates:
- Save time on frequently asked questions
- Ensure consistent messaging across your team
- Organize replies by topic or use case
Click + Create to add your first preset reply.
Knowledge Base
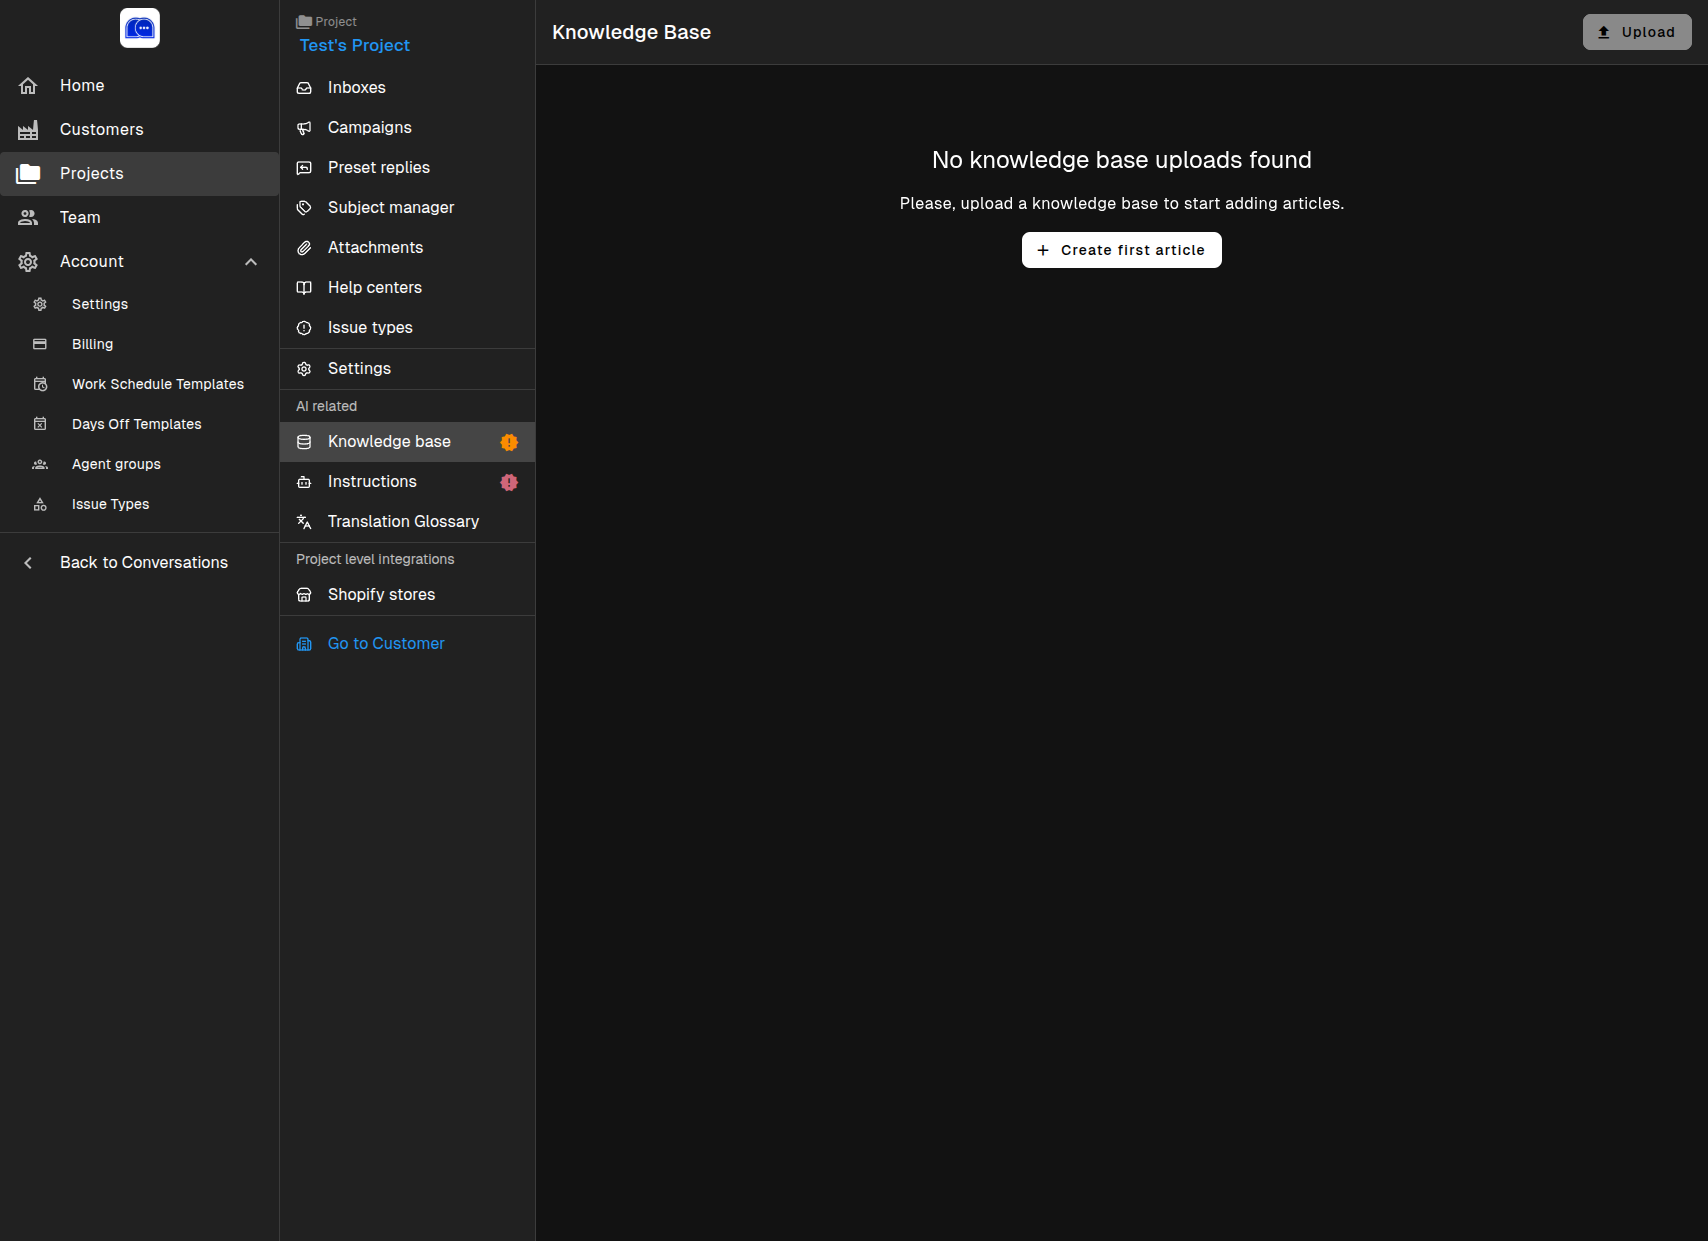
Project → Knowledge Base powers your AI with accurate information:
- Upload articles, FAQs, and documentation
- The AI references this content when generating suggestions
- Supports multiple articles per project
Click Create first article to start building your knowledge base.
AI Instructions
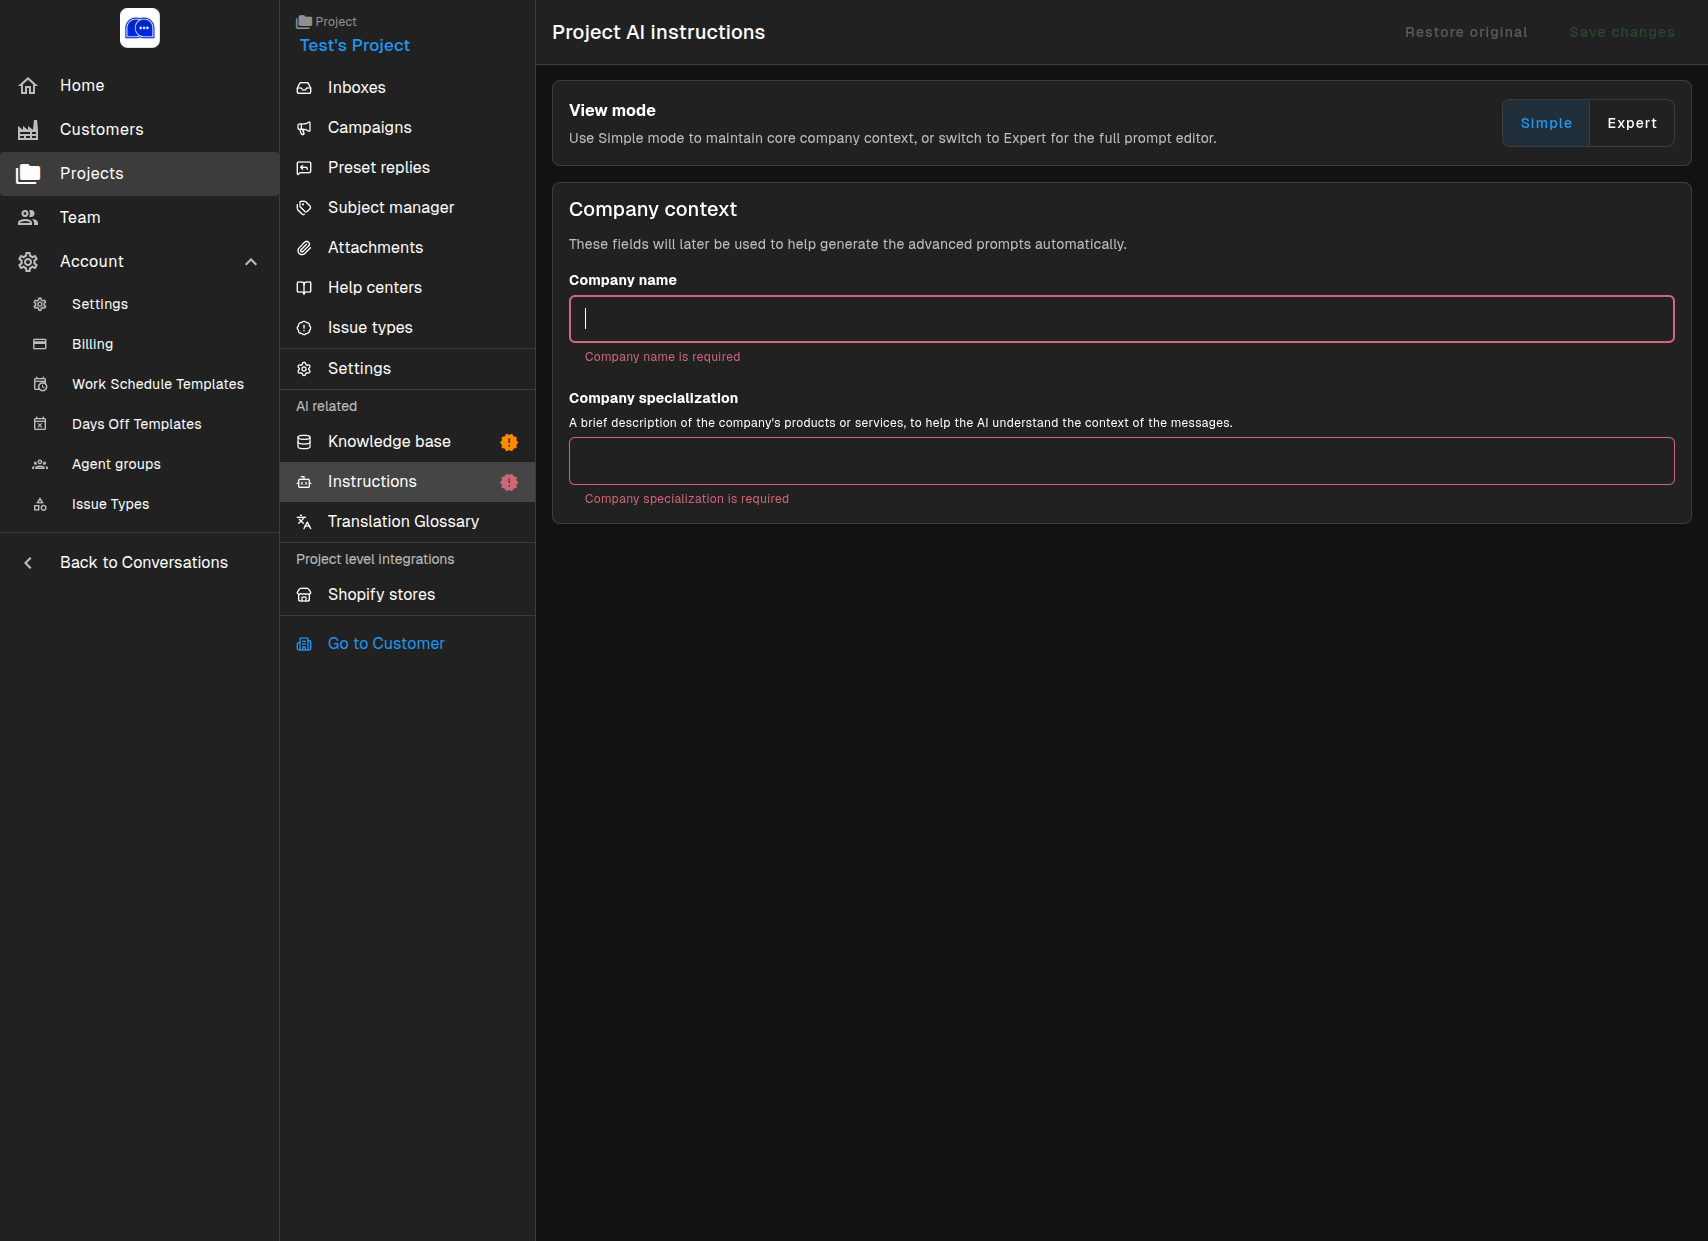
Project → Instructions teaches the AI how to represent your brand:
Simple Mode
Fill in basic fields:
- Company name — Required. Identifies your business to the AI
- Company specialization — A brief description of products or services
Expert Mode
Access the full prompt editor for advanced customization of AI behavior.
Well-written instructions lead to more accurate, on-brand AI responses.
Work Schedule Templates
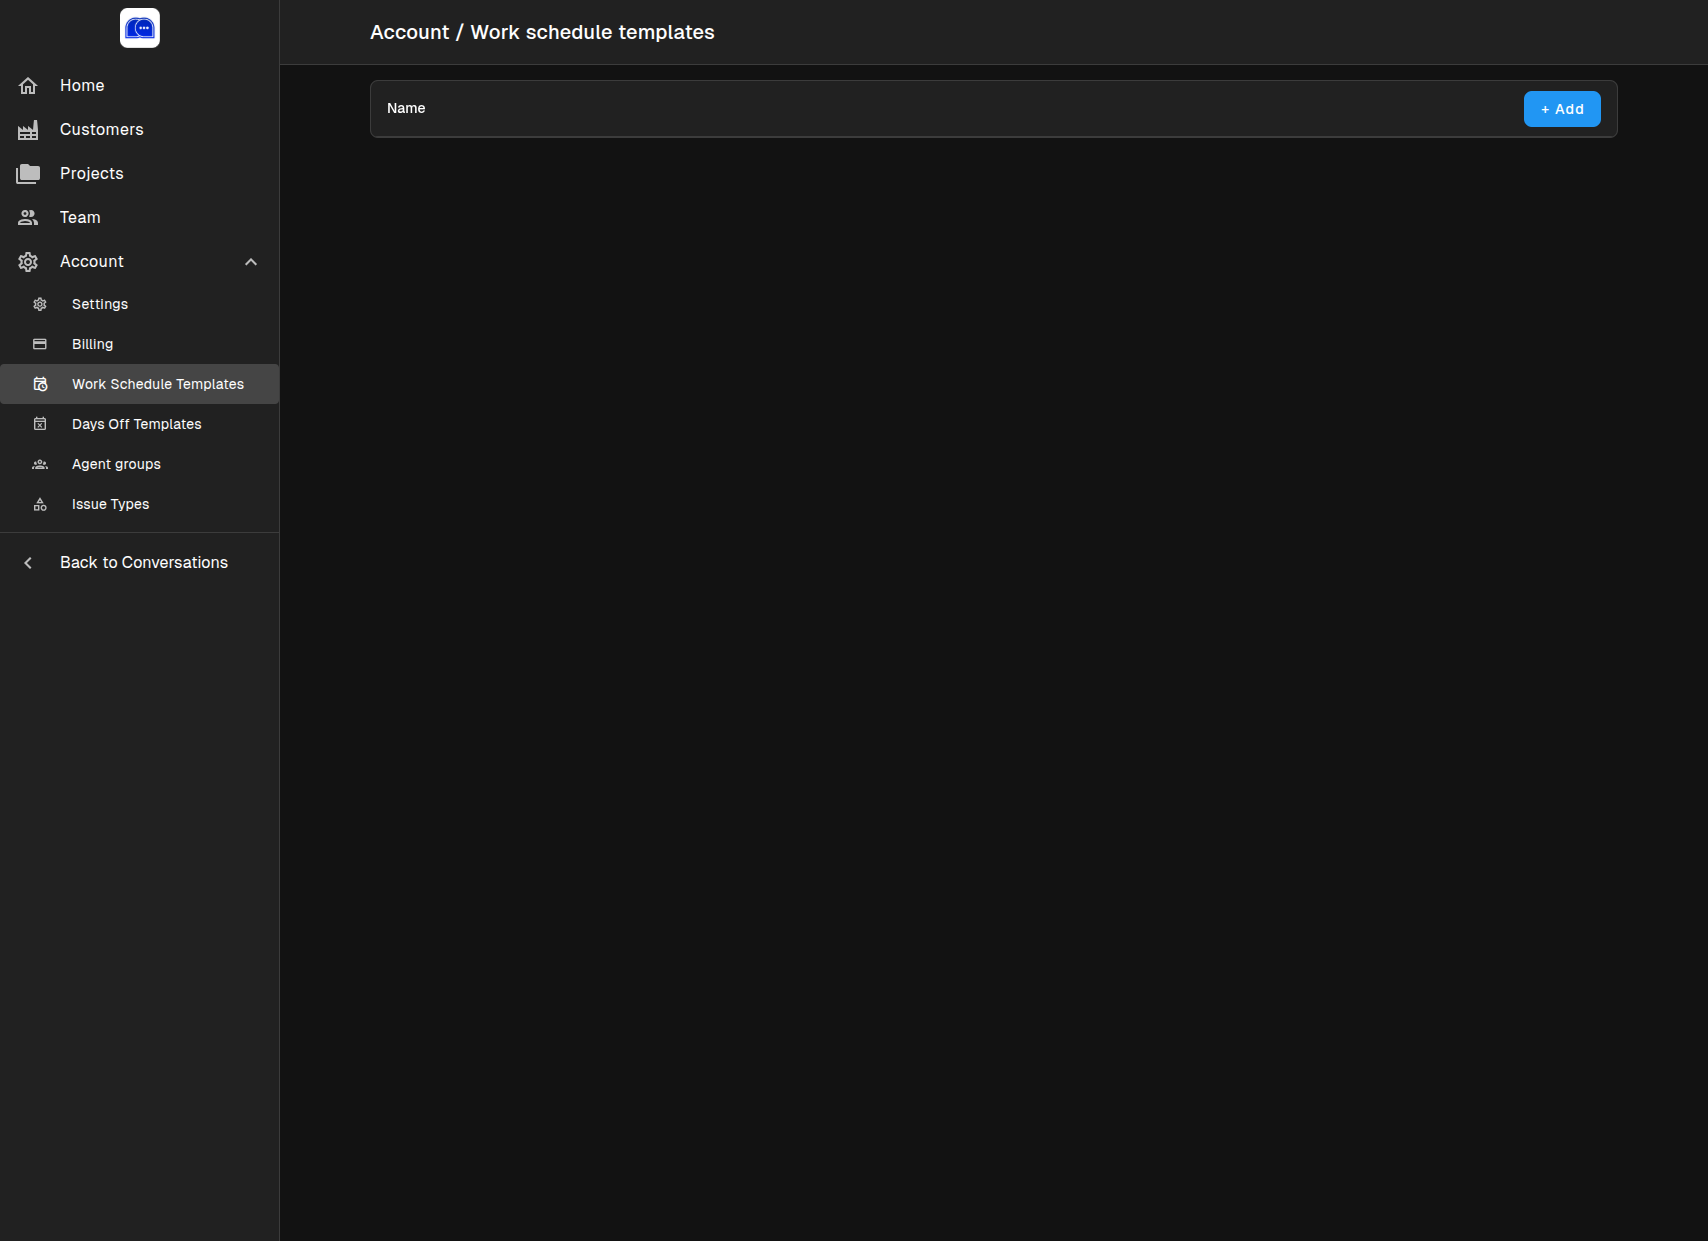
Account → Work Schedule Templates defines when your team is available:
- Create reusable availability templates
- Apply schedules to inboxes so customers know when to expect responses
- Set business hours, breaks, and time zones
Days Off Templates
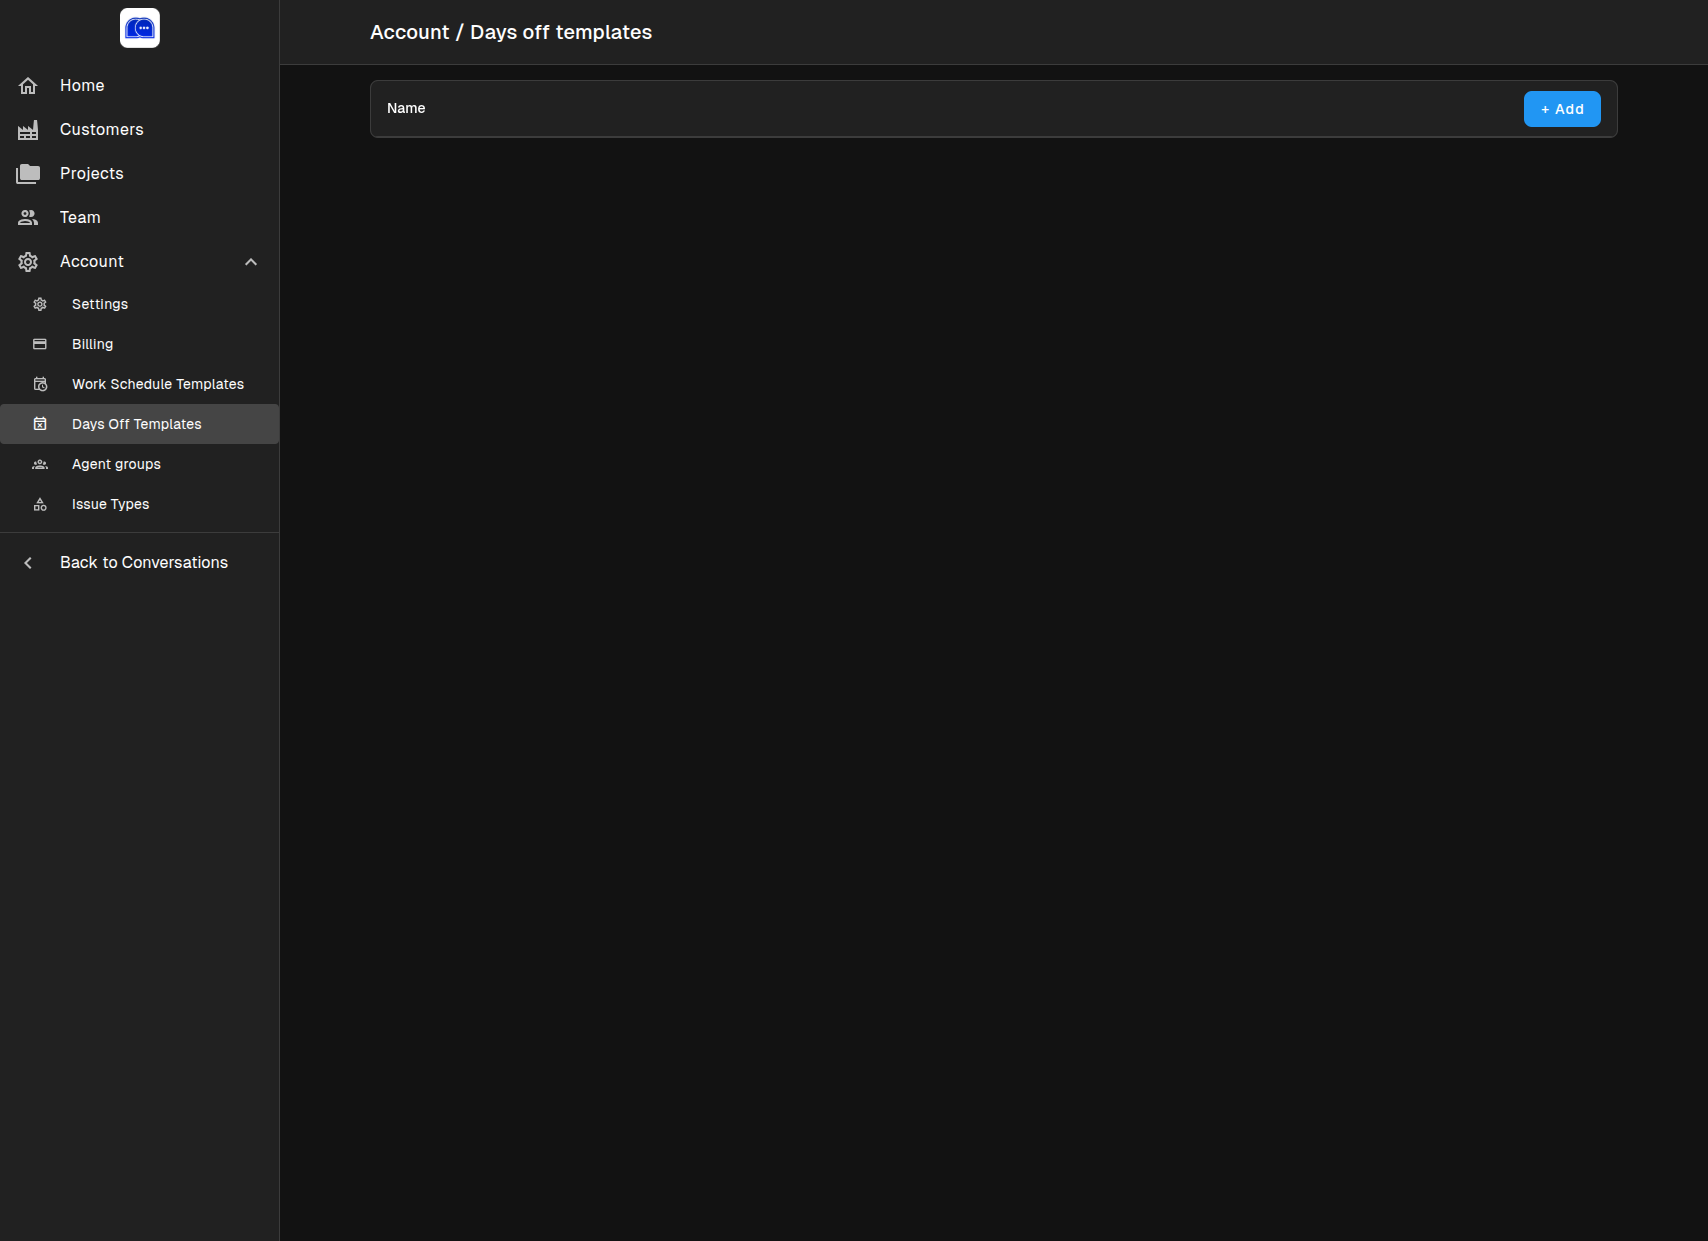
Account → Days Off Templates prepares holiday and exception schedules:
- Create templates for public holidays
- Plan team vacations and office closures
- Apply to projects to pause SLA tracking during off days
Agent Groups
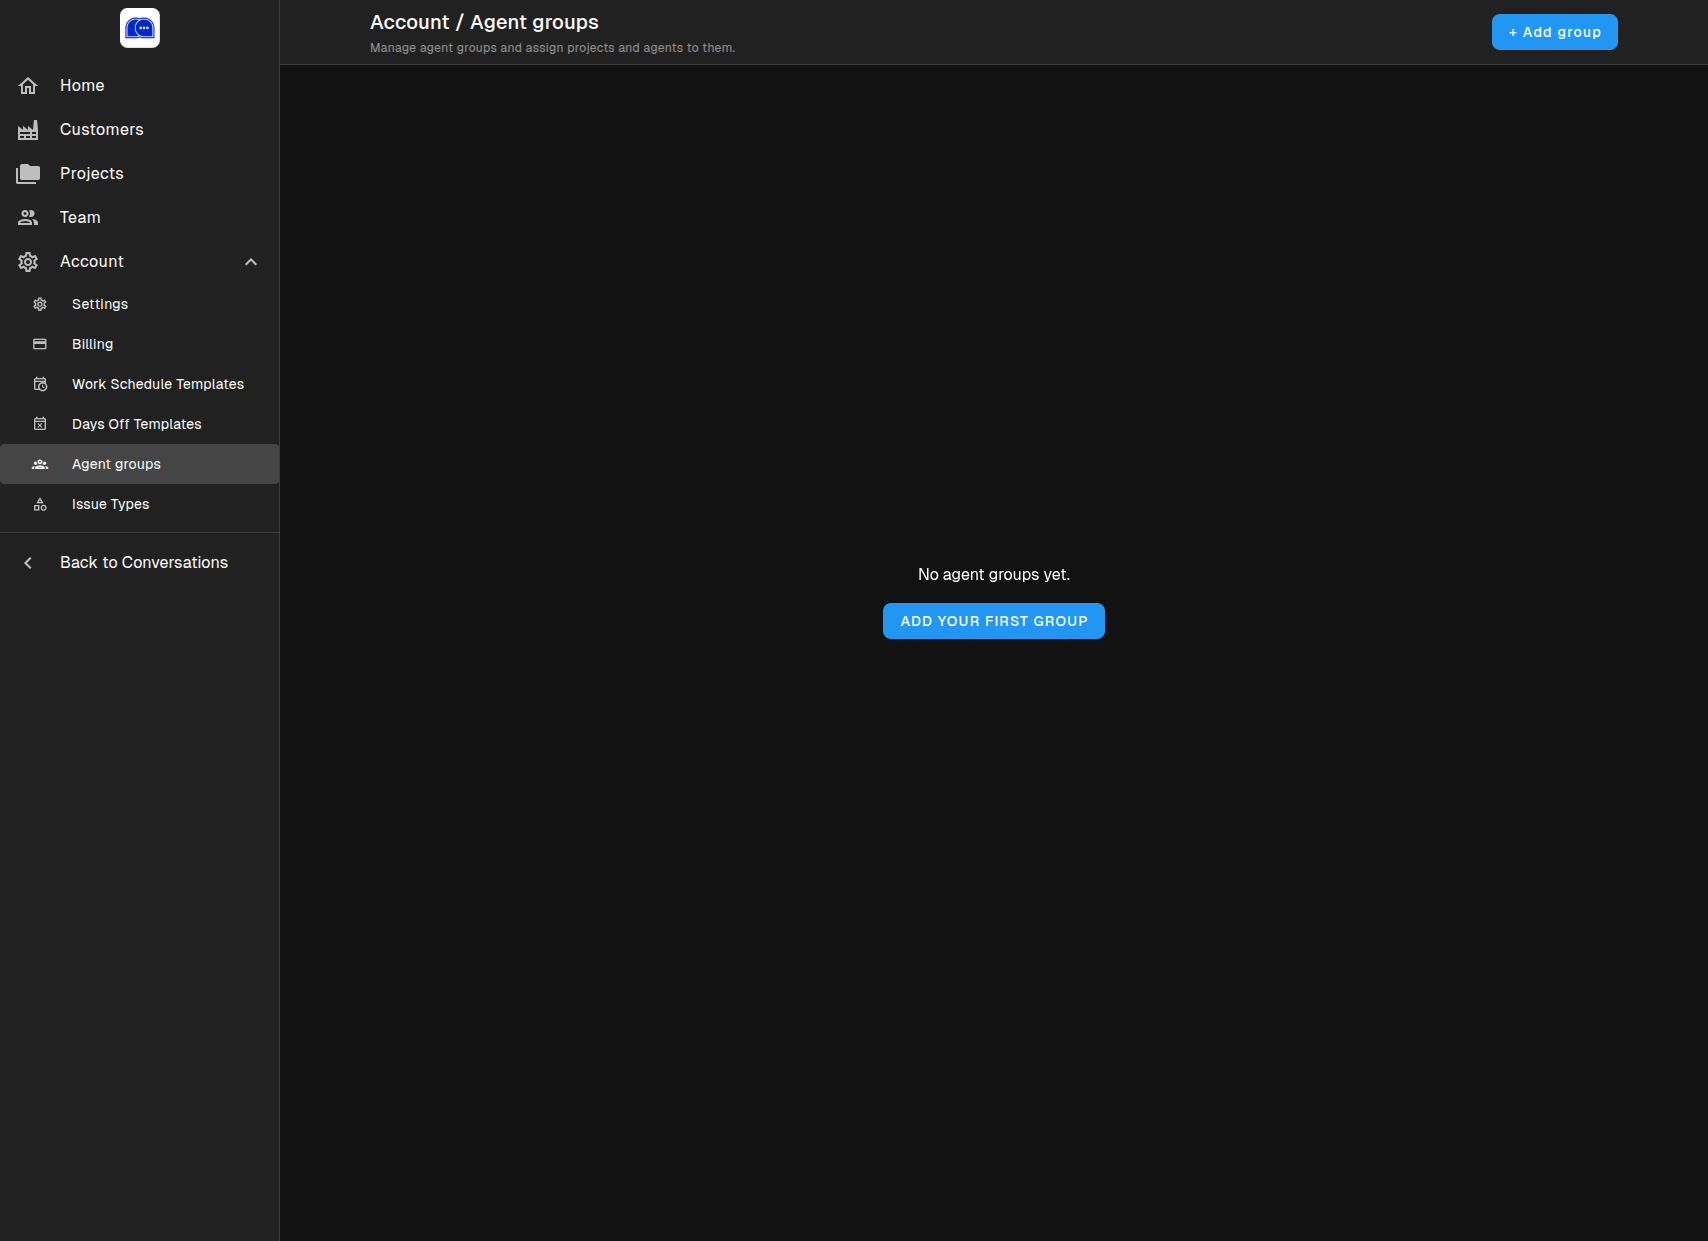
Account → Agent Groups organizes your team by responsibility:
- Group agents by project access
- Assign specific roles or expertise areas
- Simplify conversation routing and workload distribution
Click + Add group to create your first agent group.
Issue Types
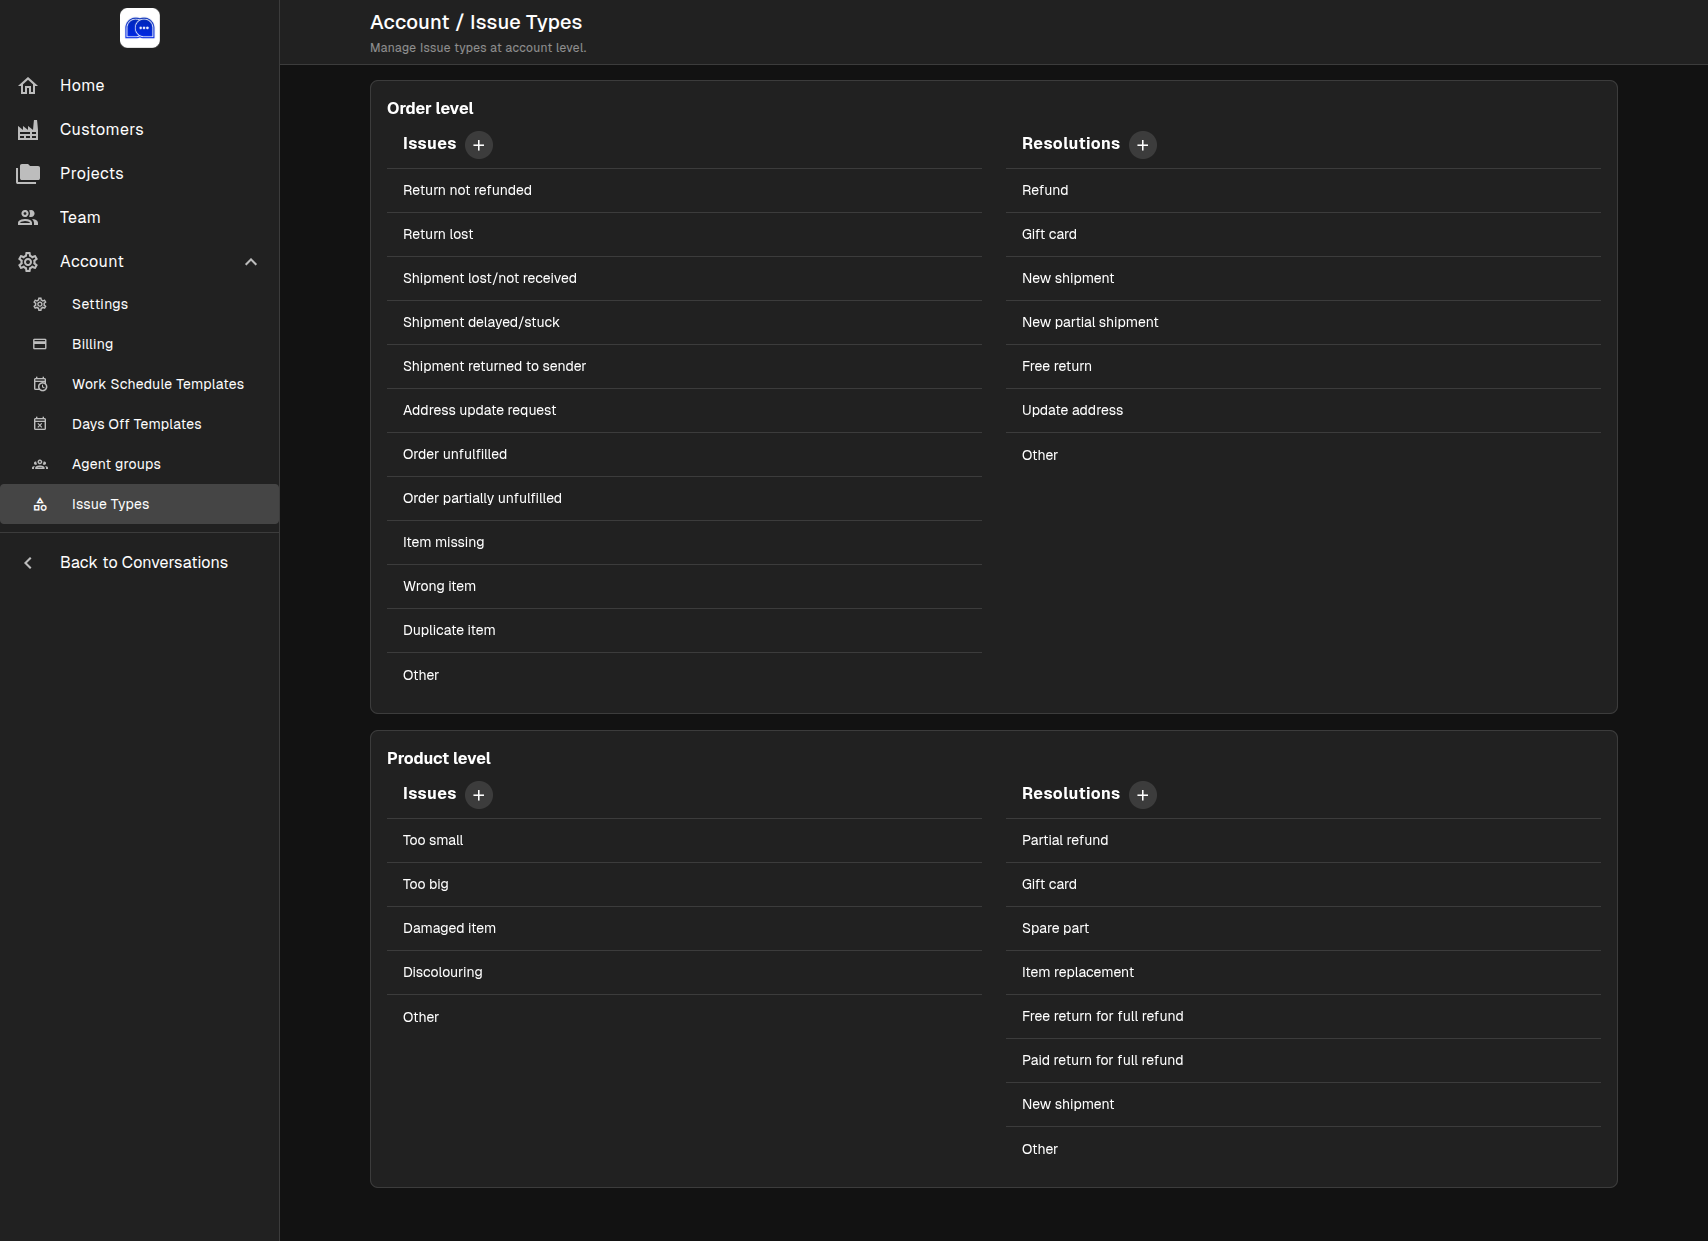
Account → Issue Types standardizes how you categorize problems:
Order Level Issues
Common shipping and fulfillment problems:
- Return not refunded
- Shipment lost / not received
- Order unfulfilled
- Wrong item
- And more…
Order Level Resolutions
Standard resolution actions:
- Refund
- Gift card
- New shipment
- Update address
- And more…
Product Level Issues
Product-specific problems:
- Too small / too big
- Damaged item
- Discolouring
- And more…
Product Level Resolutions
Product resolution actions:
- Partial refund
- Spare part
- Item replacement
- Free return
- And more…
Customizing issue types ensures consistent reporting and faster resolution workflows.
Notifications
Click the Notifications bell icon in the left sidebar to view your notification feed:
- Filter to show only unread notifications
- Receive alerts about assignments, mentions, and system events
- Stay updated without leaving your current conversation
Best Practices for Settings
- Complete the setup checklist — A high setup health score means fewer surprises
- Write clear AI instructions — The better your instructions, the better the AI suggestions
- Keep your knowledge base current — Update articles as products and policies change
- Use templates — Work schedules and preset replies save time and reduce errors
- Review billing regularly — Monitor usage to avoid unexpected plan changes